Thursday, October 23, 2014

Hello. I know it has been a while... you know life gets in the way sometimes of crafting. I wish crafting could be my life, but then who would take care of my family :D? I don't want anyone else to do it, so crafting gets put on the back burner some times. 

I used the HOPE set from http://www.papersmoochesstamps.com
since that is the only one I own, (but I hope to rectify that this Christmas, as I have a couple of sets on my Christmas list. To create my background I inked up some distress watercolor card stock from Tim Holtz. I used the smooth side and swiped my Memento dye ink London Fog for the middle Tangelo and Grape Jelly for the ends. I then took another piece of card stock and inked both ribbons in a circular pattern to create a flower, first the orange with the solid image and then the purple with the open image. I then fussy cut it out. I took the scrap and inked it up and cut the circles out to create the center.  


 I made this for a friend of mine's daughter. It is her Quinceanera this weekend and in lieu of any gifts for herself she wants the guests to bring an unwrapped toy, so she can take them to Ronald McDonald house for the burn victims. As her younger sister had to stay there a few years ago and she never forgot the kindness they showed her family and wants to pay it forward. So this is the card that is going to go with the gift. 
I hope it touches the receiver as it is intended. I made it with my heart, and I pray that it brightens their day. So for todays post I am linking my card to  http://papersmoochessparks.blogspot.com


Saturday, October 4, 2014

WORLD CARD MAKING DAY

Does it get any better than that. I mean really a whole day around the world devoted to one of my FAVORITE pastimes. Well I have been blog hopping all day, drooling and creating wish list's. Wonderful eye candy all over the net.

I did how ever finish a card I had started for the Fusion challenge here is the link:
http://fusioncardchallenge.blogspot.com

here is my card:
This sunflower image is from Claudine Hellmuth studio "bloom - Jumbo" clear stamp collection. I colored it with Copic markers Y13 Y15 Y17 Y18 YR23 E13 E15 E18 YR27. The leaves are from another set that I don't know the name of. It has been in my stash forever. I drew the panel on the left free hand and colored it in with G24 and G28 Copic markers. I inked the sentiment with mementoLuxe Dandelion.


I used Neenah solar white paper and stamped the image 3 times to be able to cut and color the center and have it pop up. I colored the very center with a wink of stella to give it some shine.


Monday, September 29, 2014

Coffee and U

Good morning again, Here is another little quick card that has a little story behind it. I love stories! don't you? (when I have the time to read them)
 I made this card with my best friend in mind. We both love coffee and each other. We have known each other since High School and we now can say it is past our 30th year reunion. Thats a long time and a lot of coffee together. Any way My name is LesLee and begins with L, Her name is Staci and begins with S. Back then Lavern and Shirley were big on TV Here is a little link for Lavern and Shirley theme song we would be called that because of the trouble that would sometimes fall upon us but that is for another blog post. LOL. Well if you are familiar with that TV show Lavern would always wear a BIG L on her shirt. This LOVE die the L is separate from ove part, so when I was making this card for her all these wonderful memories came flooding back of her's and mine childhood.
anyway that is my story and this is the card. Hope you enJOY.


Good Morning. Today I am joining Chaitali who is hosting  a coffee lovers blog hop. This is the link to start coffee blog hop It has been REVVING up on that Monday September 29 is National Coffee Day. There are some optional questions to answer if you want 
1. When did you start drinking coffee? 
    I didn't start drinking coffee till I was in my late 20's when all the flavors started coming out. It has been said that I just use the coffee to get the creamer in my system. 
2. What is favorite brand (you can name up to three). 
   I like a dark roast. Seattle's is really good ( you can find it at the local gas station down the street from my house and how convenient that it is on my way to work :
3. What is the most amazing coffee that you had? Remember where and when?
   I spent 3 weeks in Spain in 2008, I stayed in downtown Madrid. I don't know if it was just because I was in a different Country (for the first time) or that is was my birthday or what but I went to go see the Beauty and the Beast and went for coffee afterward in a tiny little bistro. It was the best cup of coffee ever.
4. If I don't drink my needed coffee, I will...
   Be off my daily routine! 
For your listening pleasure I have some links for your enjoyment:


Now onto the card. 
This is a flip card. The images are from Paper Smooches except for the little smiley face. The sentiment is one I have had in my stash for years and I don't know who it is from. It is on craft card stock and some patterned paper that I have had in my stash forever as well. 


I hope you enJOY. 

Sunday, September 28, 2014

Online Copic Card Class Week 1

Ok this is homework catch up :) for Days 2-5. So on day 2 is blending tricks and tips.
 This bird and butterfly turned out to be my favorite.... lol but they are almost the same colors.


 Day 3 was getting more milage out of your markers by adding grey. This is what got me behind.. Because I didn't have any grey.. so off to HOBBY LOBBY with my family and coupons, and this is the result...my updated color chart, with grey sketch the n series and blue sea and sky series  a VO6 and a R22. It really helped me to play with what I had and then I could figure out what I needed.. or wanted rather.. Do we really need more markers? LOL

so here is my practice sheet on adding grey. If you notice down in the left hand corner a circle around a color, that is actually chocolate which makes all coloring easier.


Day 4 was turning on the lights, I think this was my favorite so far, nature is very forgiving.
 Day 5 was coloring skin hair and clothing.. not my fav but I did it. My second one looks like an alien with an orange face LOL.
This cute an adorable ballerina drawn by Kristina Werner herself.. She is so talented in my book.
Well I think I am all caught up now.. but the nice thing is you can really work at your own pace and you have a lifetime access with these classes. I think the tips and techniques are fantastic and with the homework they provide for you is the same as the teacher is working on so it makes it easy to learn. 

Tuesday, September 23, 2014

Copic markers

Yesterday was the first day of online COPIC class. I am a little behind.. this work thing really gets in the way of my play time ;) Our homework assignment was to practice, practice, practice using 2 and 3 color blending

this is the homework sheet. I really had a lot of fun. Coloring makes you focus on that. Not on life's problems or things that should have your attention like, making the bed, sweeping, or getting out of your pajama's! So color I did! Then I cut them all out and made this cute little diddy. 
I used a bouquet  flower stem  as the strings for my balloons (SU) and it came with that cute little bow to tie it with. I inked it with blue to make the blue balloon stand out a bit. I then stamped the Happy Birthday and covered it with glitter. I also glittered the bow. After all a birthday without a little glitter just doesn't feel right, and me going to work without glitter on me somewhere doesn't feel right. RIGHT? I hope you enJOY this little post of mine. I am off to get started on day 2.
(which is today lol) that reminds of a little saying my grandma had embroidered in her kitchen which was all pink with black accents. She embroidered on PINK gingham with black lettering 
" Only Robinson Crusoe got his work done by friday"
  In 1964 it was a tv series. Robinson Crusoe gets shipwrecked on an island and frees  a slave from being sacrificed. He did this on friday and since there was a language barrier, that is what he named him. And he did some of his work for him because he was grateful. I am rambling!

Sunday, September 7, 2014

Online Card Class  Copic markers for card makers. Home work. We are supposed to try our favorite color combo's so yesterday off to Hobby Lobby I went (my son and hubby went with me) all of armed with $ and coupon. After all it is one per customer per day :) so I picked out some Copic trio's. 3 to be exact lol. I got the blending trio#5 = Y00 Y13 and Y18. Color fusion #4 YR20 YR23 and YR27 and Color fusion #2 RV000 RV52 and RV55. What I got added to my stash pretty nicely I think. This was cheaper for me than order online. However when I got home I was playing around on the computer and I found DickBlicks they have 34% off  Copic markers right now. So if that helps you here is the link http://www.dickblick.com/products/copic-sketch-markers/ So I printed out our homework on some different types of card stock so I could play today after the ink dried over night. And this is it:
I am not worried about coloring out of the lines as of yet. I am only concerned about playing with the blending. I put on some background noise (music lol) and colored away. It reminded me of being at my grandparents house when I was little. They had a big big roll of brown paper that they would roll out and give all the grand kids space to lay on the floor and color or draw to our hearts content. Such happy memories. Any who Hope you all have a very blessed day and enJOY your Sunday. God Bless and thanks for stopping by.

Saturday, September 6, 2014

Hi all. New class I am taking online. http://www.onlinecardclasses.com Copic MARKERS for card makers. It is not too late to sign up if you are interested. I can't wait for class to get started on 9/22 but they do have some info now to get started. I have ordered my paper. (waiting patiently.... come on Simon!) This is a picture of my markers that I do have. Very few. But from what I have seen so far the possiblities are limitless.

Friday, August 29, 2014

There is still time.....I have a card to share using this sketch


I created the back ground from solid images using London fog MEMENTO ink. I used Paper smooches Hope die cut out of of silver tin, and the sentiment is from the Hope set I  used Tuxedo Black MEMENTO ink.


 There is still time: link http://papersmoochessparks.blogspot.com/2014/08/theres-still-time_29.html


Thursday, August 28, 2014

paper smooches challenge

I am having fun STRETCHING my creativity with what I learned in my online card class. I want to share a card to share today for a card challenge at Paper Smooches challenge http://papersmoochessparks.blogspot.com/2014/08/august-24-30-designer-drafts-challenge.html

this is the sketch


 I only have one set of paper smooches stamp and die ( I am hop ing to change that soon )and that is the stamp for a cause HOPE and HOPE die...  the sentiment is from that set "laugh when you can and cry when you must". I fussy cut the shoe image  from that set out of shrink plastic (after sanding and inking the image ) then I shrank it  (so much fun) then I adhered it to my card of this little boy I water colored  ( I named  Harry after my grandpa who loved to fish) I think he has a very innocent bewildered look on his face, he caught a shoe. I could see him laughing all the way home and hoping to find the other tomorrow.


Tuesday, August 19, 2014

Paper Smooches Challenge.


I had mixed emotions about this card. Cancer is trying to take a lot of my friends. But the awareness needs to continue...... for all cancer. This set is from paper smooches and one of the sayings in this set say's "let's kick cancer's butt!" I totally agree and  got this set because my husband's first wife died of ovarian cancer and I see first had the devastation it causes ( I work in a hospital) it just makes me sad sometimes. 
I stamped the hope love faith in Memento "London Fog " ink all over the back ground the ribbons, glove and sentiment are stamped in Memento LUXE "Lilac Posies". I die cut one of the ribbons and popped it up off the card but glued it down to the circle tag. 
HOPE you enJOY.

Monday, August 18, 2014

CAS #88 This is my first time trying a challenge, so here it goes.


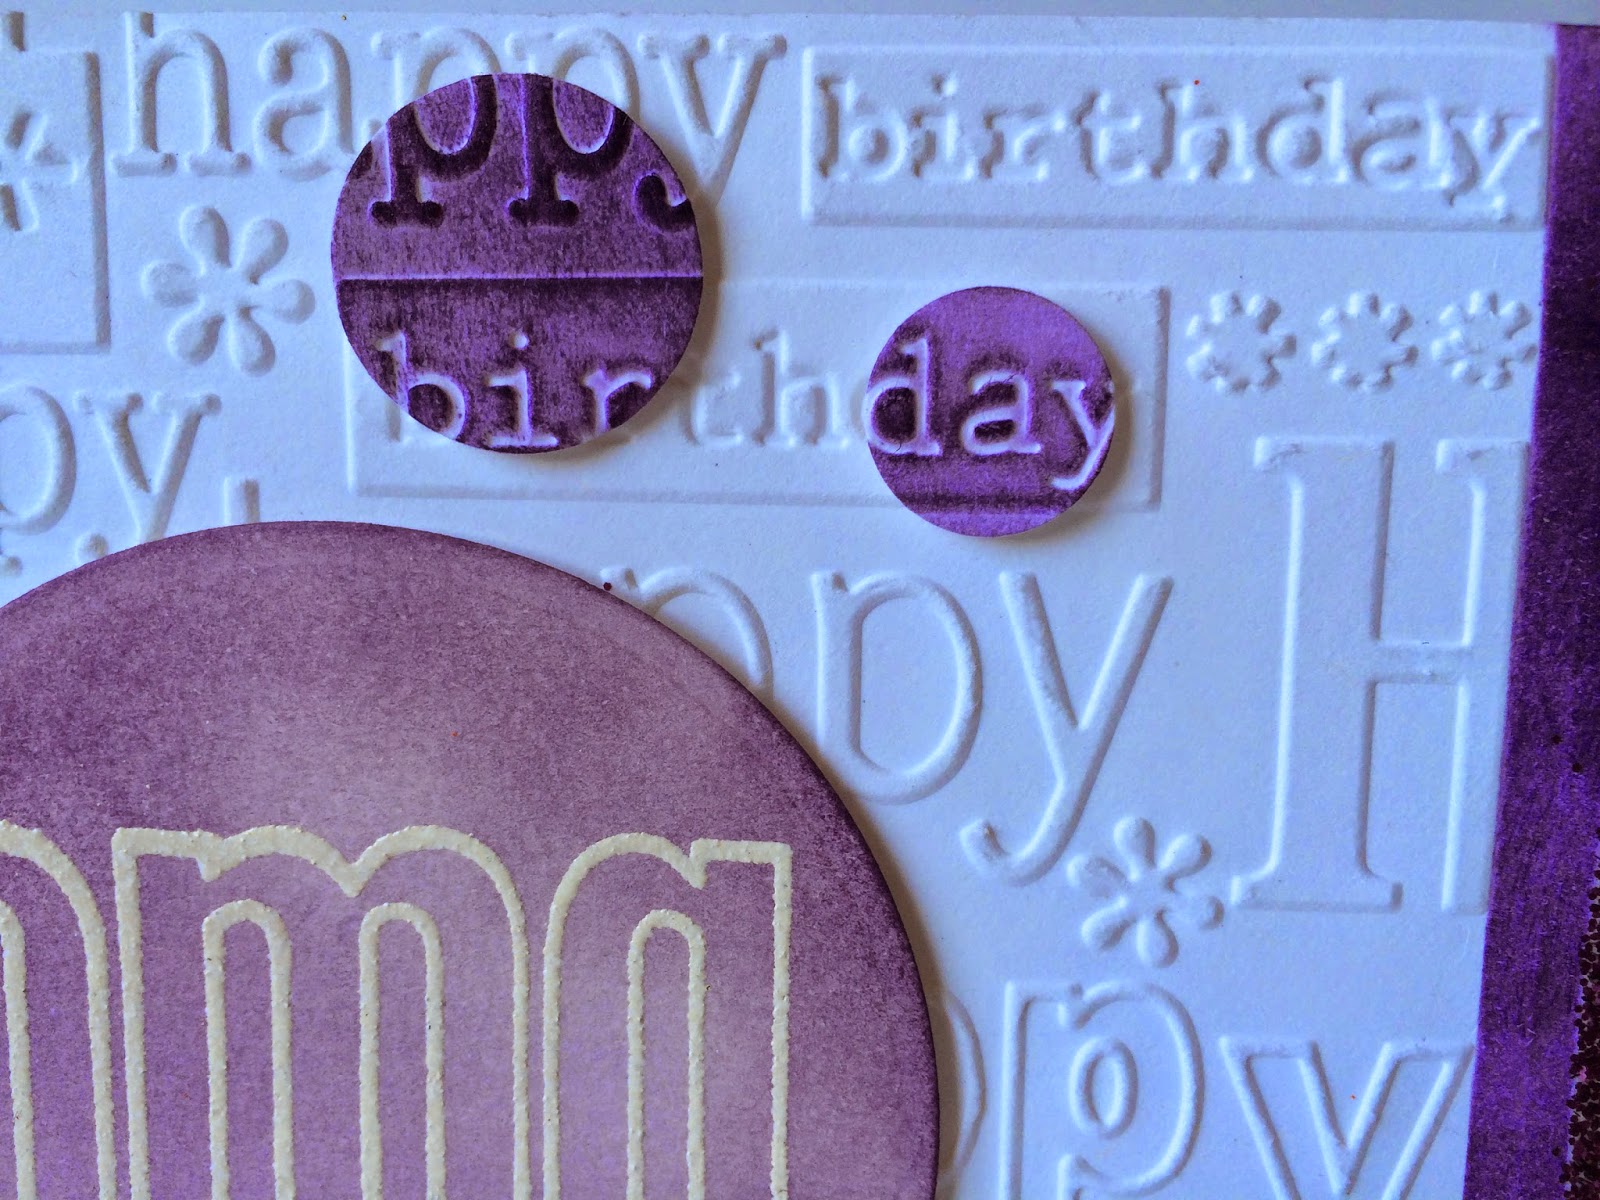
I took the sketch and turned the card and used a Happy Birthday embossing folder down the middle. Inked up both sides after masking off. I then added a stripe of glitter. The big circle is a piece of water color white embossed  and inked over it. I cut the sentiment into a little flag. Die cut two circles off another embossed piece of paper and adhered

Here is the link

Just found another challenge. 


Here is the link

Friday, August 15, 2014

OCC Day 11 PLAY DAY


To day we were encouraged to just play. So play I did. This is a piece of watercolor paper  die cut with a circle and embossed many many times to cover the area. I did it over and over again trying to get the look Jennifer did with the silver. So underneath this poppy color is lots and lots of silver I then embossed the Just For You stamp and attempted to have it just blend.... well I did something wrong lol... but I was determined to suceed and not let a lot of embossing powder get the best of me. :) So I just started layering the poppy and I was going to do the reverse and have the silver be the stamp. Well it was so thick by this time I took the stamp and just stuck it in it because I could see the outline anyway. 


I continued to play with the embossing powders ( I really like the look of the multiple that Jennifer had done ) Well I found a iridescent peacock in my stash. So I stamped on black paper and then the frame on blue paper and topped it off with a white gel pen. These are pretty simplistic and I think they need a little something, but I have to go to work.... Hey it's almost Saturday so I can PLAY then. Hope you enJOY.


Thursday, August 14, 2014

OCC Day 10


In today's class we are stretching are stamps more than before. I was really inspired by Laurie Willison's card. I used a floral stamp set that I have and stamped on the back side of glossy paper. I really like using glossy paper this way because it is a little thicker for the thin die cuts. I then stamped the images to card stalk trying to get a tone on tone effect for the paper. I then stamped my sentiment with pigment ink and while I was popping up my flowers, I smeared it with my hand. LOL I thought what a mess, Normally I would have started all over but I am here to learn and I was going to try and fix my mistake so I wiped it off as best I could and stamped it again. This time hitting it with the heat gun. Then I had a shadow effect on the word you and thought what can I do to fix this, then bingo a humming bird flew to my window and there was my idea.  I had lots of fun trying to piece up the die cut flowers and leaves.
I especially like how using the leaf stamp and using flower die cut and leaves gives the appearance of a flower but it is really the leaf stamp. I am very happy with the end result and really glad I stuck to it. Hope you enJOY.

Wednesday, August 13, 2014

OCC Day 9


 Well today's On line Card class was over the top amazing. I used all the techniques from using a circle the form the frame work for placement, too inking the stamp with multiple colors and wiping off, too adding laying stamping. I used Stamping up stamps I think it is called two step stamping but don't quote me. I used Memento Dye Ink in multiple colors. If you have arrived at my blog and you're   not from the ON LINE CARD CLASS. I really recommend the classes ( they have multiple ones to choose from ). They even have two from the great Tim Holtz about chemistry. Any way I hope you have an amazing day and enJOY my card.

Tuesday, August 12, 2014

OCC Day8


Today is more graphic stamps. This is really making me look at my stamps at a whole different way... which is good because... hence the name of the class Stretch Your Stamps 2. I really like Nichol's window card. I have had this stamp set with matching die for a while and have never used it. ( I know   shame on me.... but hey I am using it now.) I stamped each butterfly in a dark color then I turned the stamp over and used the shape of the butterfly and stamped in a lighter shade to form a sort of shadow. Then I die cut the butterfly to form a window and stamped it so it would be on the inside of the card. The red butterfly had a mistake on it and it was the last thing I stamped and didn't feel like redoing the whole thing so I used some liquid pearls in alternating colors. The perfectionist in me wants to redo it.... but  I won't... so I hope you enJOY.


Monday, August 11, 2014

OCC Day 7


Today's class was on Graphic Stamps and making random patterns, I don't have any of those stamp sets... so I looked through my stash and this elephant is what I found. I inked in Tsukineko ink it in different colors. The sentiment is from 7 gypsies. The eyeballs are made with liquid pearls from Ranger. When my son was little his favorite movie was the Jungle book from Disney. I loved how the elephants walked in line by grabbing the one in fronts tail. I think the world needs a great big HUG or at least a smile. Maybe my card can do that.  Hope you enJOY.